Clover in bloom in our pasture.
Certified organic products are becoming increasingly available and prioritized in grocery budgets across the nation. Our family farm is certified organic, and it’s a priority for us to produce the highest quality foods for our family and community.
Organic certification requires time, money, and effort to stay up to date with requirements and regulations. Naysayers contend organics are not that different from conventional agriculture, and it’s not worth the price. Others may think organics is the ideal system for growing food.
Here’s our take on being certified organic.
What is organic?
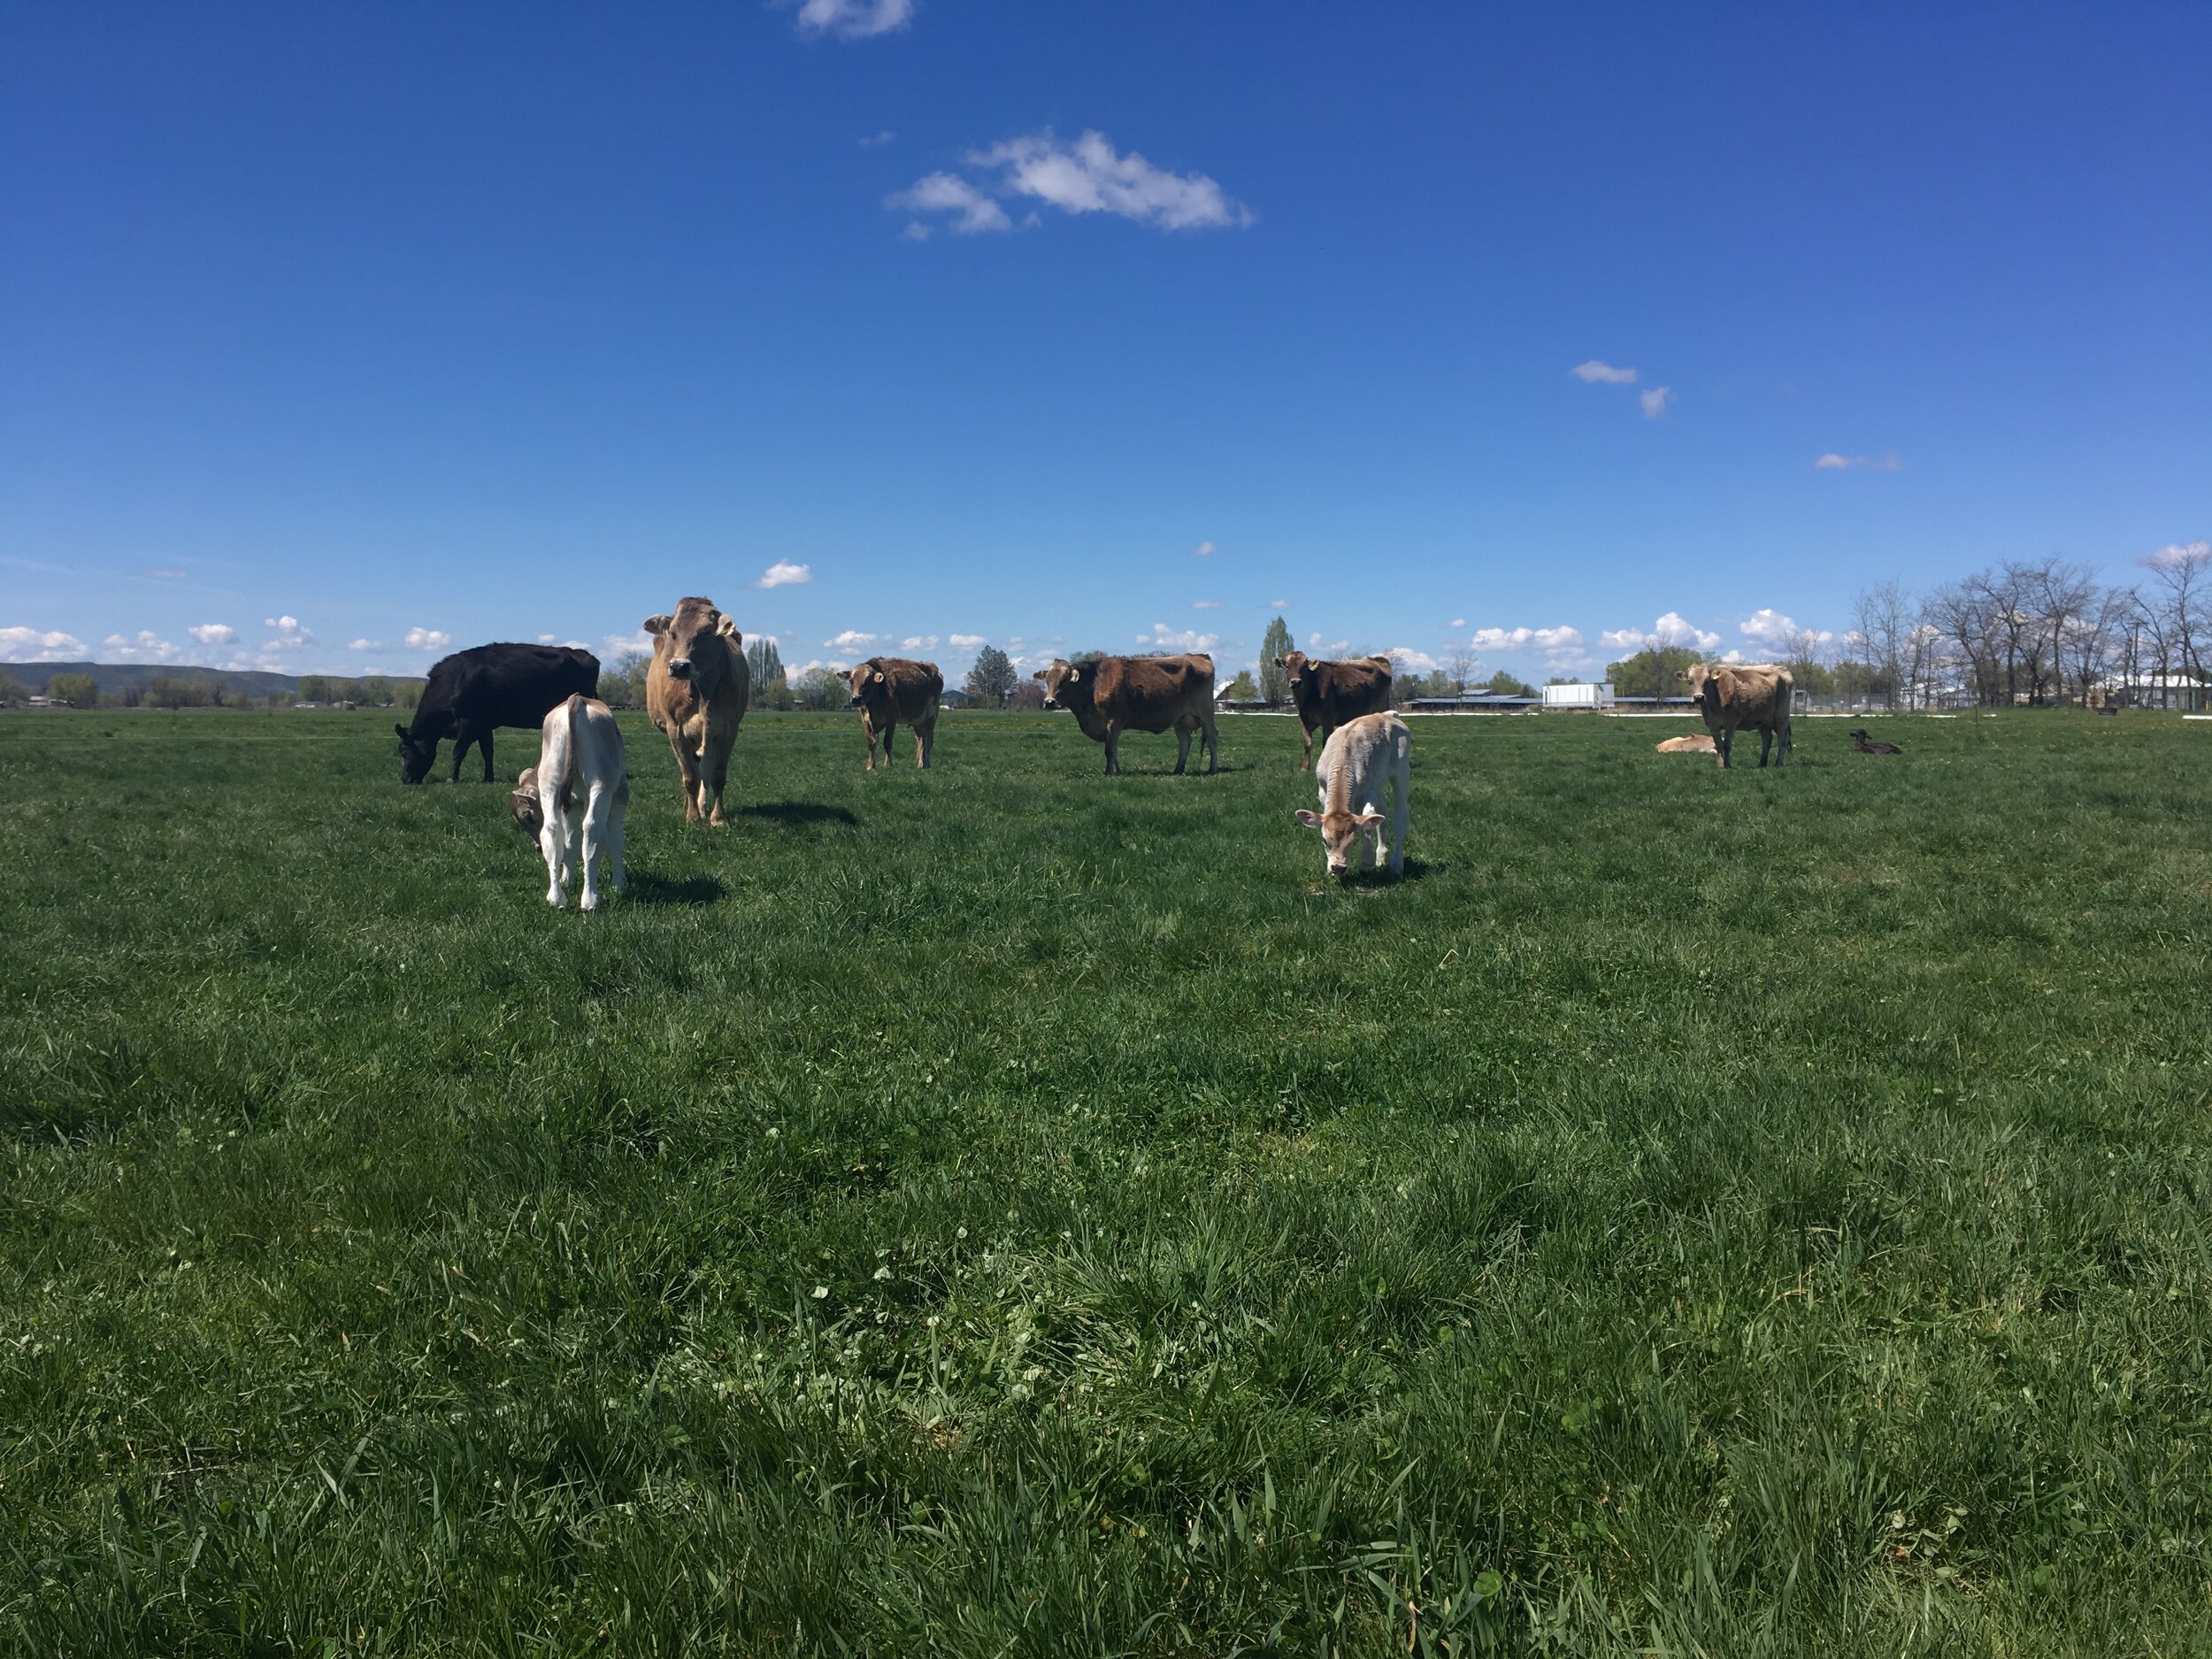
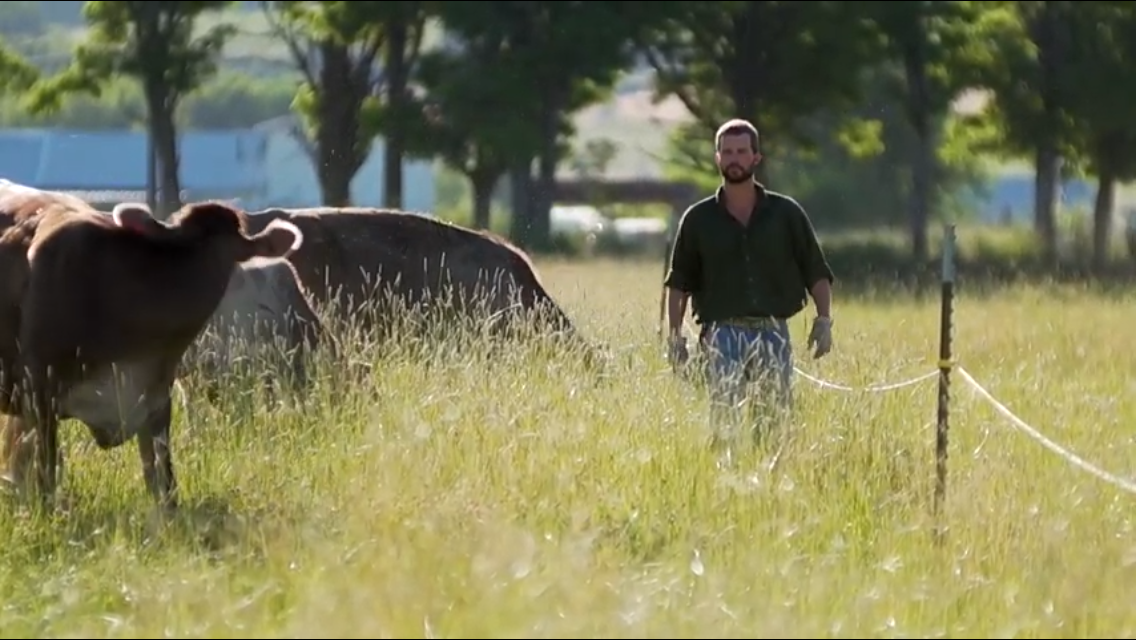
Saint John’s cows eat grass in pasture year round.
Organic certified foods are regulated by the USDA and must follow all federal guidelines.
In general, this means that, for a product to be certified organic, it must be free of additives, synthetic pesticides, herbicides, fertilizers, and be non-GMO. For meat to be certified organic, the USDA requires “animals must be raised in living conditions accommodating their natural behaviors (like the ability to graze on pasture), fed 100% organic feed and forage, and not administered antibiotics or hormones.”
Currently, USDA organic is mostly a list of “don’t”s rather than a list of “do”s. This system inherently leaves out critical descriptors in terms of soil quality and how that puts nutrients into our food.
When the organic movement first came to North America, it was centered on the idea of “feed the soil, not the plant”. The focus on soil and microorganism health means that plants will have the nutrition and growing environment to produce optimal food. Modern agriculture has this backwards and is currently steeped in a paradigm of “feed the plant, not the soil”.
By spraying toxicants to kill pests and weeds and administering fertilizers to “feed” the plants, there have been unintended consequences in harm to the life present in the soil. Soil is absolutely teeming with life. Microorganisms, worms, bacteria, and networks of fungi are present and they work together to give life to the seeds we plant.
Unfortunately, liquid “plant food” and toxicants have done significant harm to these lifeforms. The original organics movement sought to change this by putting soil health at the center of the system.
Problems in Organics: Revolving Door of Industry and Regulation

Saint John’s calf, curiously looking at the camera.
Organics is not perfect. People and systems are imperfect and require pressure, patience, and time to change.
Over time, there has increasingly been a drive for production of organic foods that can sometimes be at the expense of the nutrient content of the food. However, we know that while producing an adequate amount of food does matter, the quality of our food matters more than production and volume.
An example of the production for quality trade-off in organics is hydroponic and aeroponic systems. These systems create a very high yield for minimal inputs or maintenance. Hydroponically and aeroponically grown plants are not grown in soil but typically in shredded coconut husks and given “organic” fertilizer for the plant’s nutrients. This is the antithesis of the organic mantra “feed the soil, not the plant”, and fundamentally an opposing system to organics. Nevertheless, hydroponic and aeroponic producers are able to label their products as “organic”. You’d be hard-pressed to find an organic tomato, pepper, or berry at the grocery store that isn’t hydroponically grown, but that information isn’t on the food label.
We deserve to know the quality of our food and how it was grown, and these systems are piggy-backing off of the organics movement to make big bucks. One of the most unfortunate consequences of these hydroponic and aeroponic practices is that they are able to produce food so cheaply that they undercut organic farmers that are growing their tomatoes and strawberries in the soil. Real food takes real soil and real work, and this is reflected in the price, the true cost of food.
Ninety-nine percent of meat, milk, and eggs come from concentrated animal feeding operations (CAFOs) in the United States. Organics should not be part of this, as the requirements state animals must have access to pasture in order to accommodate their natural behaviors.
There have been several instances of enormous “organic” operations that are using CAFOs and not giving animals access to pasture. Some of this information was leaked by whistleblowers while other instances were reported by investigative journalists. Sometimes, when information on organic farms has been reported to the USDA or media, the infractions don’t come to the attention of the supermarket buyer, the companies get off the hook by paying fines, and little to no change is made to the farm’s practices. Functionally, the farm is “organic” in name only. It’s a far cry from the picture of the happy eating grass on the carton of milk.
A serious consequence of all this is how difficult this makes charging a fair price for quality food. When everything is “organic”, the differences are difficult to distinguish for the unaware consumer. Huge organic farms are able to cut corners and undercut small family farms that are producing food higher in quality.
Real Organic Project: Part of the Solution
The Real Organic Project (ROP) is part of the solution because, rather than fighting within the current bloated system, it creates a new label, certification process, and network that people can trust. The Real Organic Project builds on USDA certified organic by focusing on traditional organic systems with an emphasis on “feed the soil, not the plant”. This focus is of utmost importance because the soil will feed the plant and steward the soil for generations to come.
The ROP standards and network remind us that we are accountable for the soil health, the products we grow, and for our communities.
Take a look at the Real Organic Project difference, with insightful side-by-side photos demonstrating what “real organic” looks like.
Our take on organic certification

Sunrise at Saint John’s Organic Farm.
We think USDA organic certification is a needed and necessary first step in ensuring a quality food supply and doing our duty to steward the planet. There are many USDA certified organic farms producing high quality food. Avoiding toxicants and other harmful substances is a big and worthwhile step in the right direction. Unfortunately, certified organic is simply no longer the gold standard of healthy food.
It all comes back to accountability. We are accountable to ourselves, our community, future generations, and to God. If we act with this in our minds and in our hearts, then we can say that we are doing “our part.”
Because we believe in accountability, we are certified organic with USDA and with the Real Organic Project.
I hope you are encouraged to seek out and support organics, including the Real Organic Project. Connecting with local farmers can be a true joy and eating nutritious, organic food is a pleasure.